Intro to git
Block 3.2: Synchronizing Changes
Jan Simson
Syncing Changes: Overview
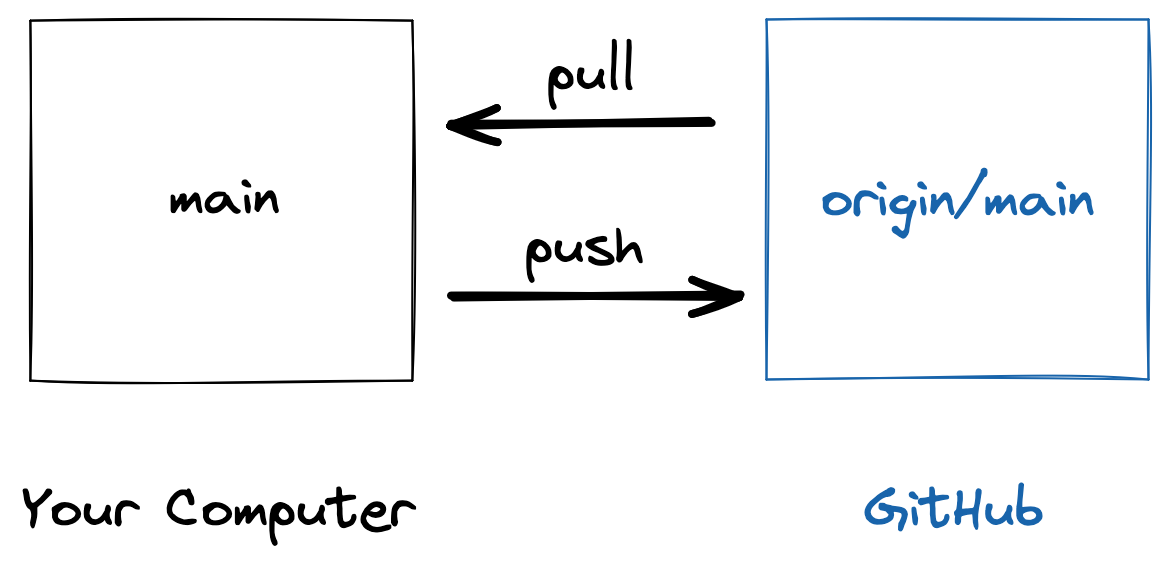
You first pull the latest changes from the remote and then push your own changes

Getting Changes: git pull
- You can retrieve the latest changes from github by running
git pull - This fetches the latest changes and merges them into your current branch
- Typically your local branch is set up to track a remote branch with the same name (the
upstream)- If not, you get a warning from git
Getting Changes: git pull
- This fetches the latest changes and merges them into your current branch
git pullreally does two things here
- You can also run
git fetchto fetch the latest changes and thengit merge <remote>/branchto merge them git fetchwill always fetch the latest changes without doing anything with them (which can be useful)
Getting Changes: git pull
- When you run
git pullfor the first time, you will need to choose a default merge strategy - When you receive the message, just copy this line of code (or the one you prefer)
Pushing Your Changes: git push
- You can send your changes to github by running
git push - This only works if there are no new changes at the remote
- If there have been changes since your last
pullyou need topullagain
- If there have been changes since your last
Questions?
Practical: Adding your own repository to Github
- Create a new repository on GitHub with the name
git-intro-example- Make sure NOT to add a README or any other file when creating it
- In the example git repository we’ve been working in so far, add the just created GitHub repo as a remote
git remote add origin <URL>
- Push you changes so far to GitHub
git push -u origin main
Optional Practical: Collaboration
- Form pairs
- One person adds the other to their
git-intro-examplerepository- Via the GitHub UI (write privileges)
- Each, add a new entry to the
library.txt - Try to provoke a merge conflict
End of Section 🎉
Any Questions?