Intro to git
Block 1.2: Tracking Changes in git
The 3 Levels of Changes in git
Changes can be either unstaged, staged or commited.
- When we first make a change it is unstaged
- Once we
addthe change to the staging area it is staged - We can then
commitall staged changes
Tracking Changes: git add and git commit
Files are added to the staging area with
git add <path to file or directory>
All files in the staging area are commited with
git commit
Tracking Changes: git add
Files are added to the staging area with
git add <path to file or directory>.
# ...we write something into example.txt

git status
# Untracked files:
#   (use "git add <file>..." to include in what will be committed)
#   example.txt
Add example.txt to the staging area
Tracking Changes: git add
Changes are added to the staging area with
git add <path to file or directory>.
- You can use
git add .to add all unstaged changes to the staging area.always refers to the current directory
- You can also use
*to represent any sort of filename- e.g. add all
.txtfiles via*.txt
- e.g. add all
Tracking Changes: git commit
All changes in the staging area are commited with
git commit
git status
# Changes to be committed:
#   (use "git rm --cached <file>..." to unstage)
#   new file:   example.txt
Let’s commit the new change
Tracking changes: git commit
- The name git “commit”, might already suggest it, but once a change is commited it becomes significantly harder to remove it.
- The classic way to undo a commited change in git would be to make another commit with the reverse change.
- Modifying a commit is possible, but you should now what you are doing. Typically this is called “changing history” and is (esp. in collaborative settings) frowned upon.
Stuck in an Editor 🛗
Forgot the -m "insightful commit message"?
- Every commit needs a message
- If you don’t provide one,
gitwill open an editor for you to write the message in - This editor may also open itself for other
gitcommands- Every line with a
#at the beginning is a comment and will be ignored bygit(usually some helpful extra info) - Save and close the editor for
gitto proceed
- Every line with a
Stuck in an Editor: Breaking Free ⛓️💥
The default editor in git is (usually) vim
vimis notoriously hard to get out of- Press
ESC, then write:wqand hitEnter - You can also change the default editor to e.g. VSCode
- ⚠️ Important: Verify first whether you can start VSCode from the comand line by running the
codecommand git config --global core.editor "code"
- ⚠️ Important: Verify first whether you can start VSCode from the comand line by running the
- For fun: https://github.com/hakluke/how-to-exit-vim
Questions?
Demo:
Using git via the CLI
Tracking changes: Practical (1/2)
- Open VS Code in the directory
git-exerciseyou created earlier - Create a new text file called
hello.txtwith the contents “Hello!” - Add the file to the staging area (
add) - Commit the new file (
commit)
Check what’s happening between steps with git status.
Tracking changes: Practical (2/2)
Check what’s happening between steps with git status.
- Change the text in
hello.txtto read “Hello there!” - Add the file to the staging area (
add) - Commit the new file (
commit)
Seeing Changes: git status 👀
You can see the high-level changes and what is about to happen with
git status
# ...we change the contents of example.txt

git status
# On branch main
# Changes not staged for commit:
#   (use "git add <file>..." to update what will be committed)
#   (use "git restore <file>..." to discard changes in working directory)
#         modified:   example.txt

# no changes added to commit (use "git add" and/or "git commit -a")
Seing Changes: git diff 👁️👄👁️
You can see the actual unstaged changes, line by line with
git diff
# ...we changed the contents of example.txt

git diff
# diff --git a/example.txt b/example.txt
# index 10ddd6d..980a0d5 100644
# --- a/example.txt
# +++ b/example.txt
# @@ -1 +1 @@
# -Hello!
# +Hello World!
Note
git diff only allows you to see changes to files which have already been commited before i.e. changing the contents of an existing file.
Un-Tracking changes: git reset
- You can reset your staging area with
git reset, removing all staged files - To remove specific files from the staging area use
git reset <filename / directory>
Un-Doing changes: git restore
You can undo any changes to files with
git restore
# ...we changed the contents of example.txt

git status
# On branch main
# Changes not staged for commit:
#   (use "git add <file>..." to update what will be committed)
#   (use "git restore <file>..." to discard changes in working directory)
#         modified:   example.txt

# no changes added to commit (use "git add" and/or "git commit -a")

git restore example.txt

git status
# On branch new-branch
# nothing to commit, working tree clean
Un-Doing changes: git restore
You can undo any changes to files with
git restore
- This is one of the super-powers of using git, allowing you to just go ahead and change your files without wasting time having to create backups
Interim: The anatomy of a git command 🔍️
Git commands, like many other CLI tools follow a certain structure:
Questions?
I’m aware this was a lot to take in.
Practical: git Command Library (1)
- Create a new file
library.txtin yourgit-exercisedirectory - Run
git init -hand copy the output into yourlibrary.txt - Explore the repo status using
git statusandgit diff - Commit the changes (with a good commit message)
- Delete the
library.txtand restore it
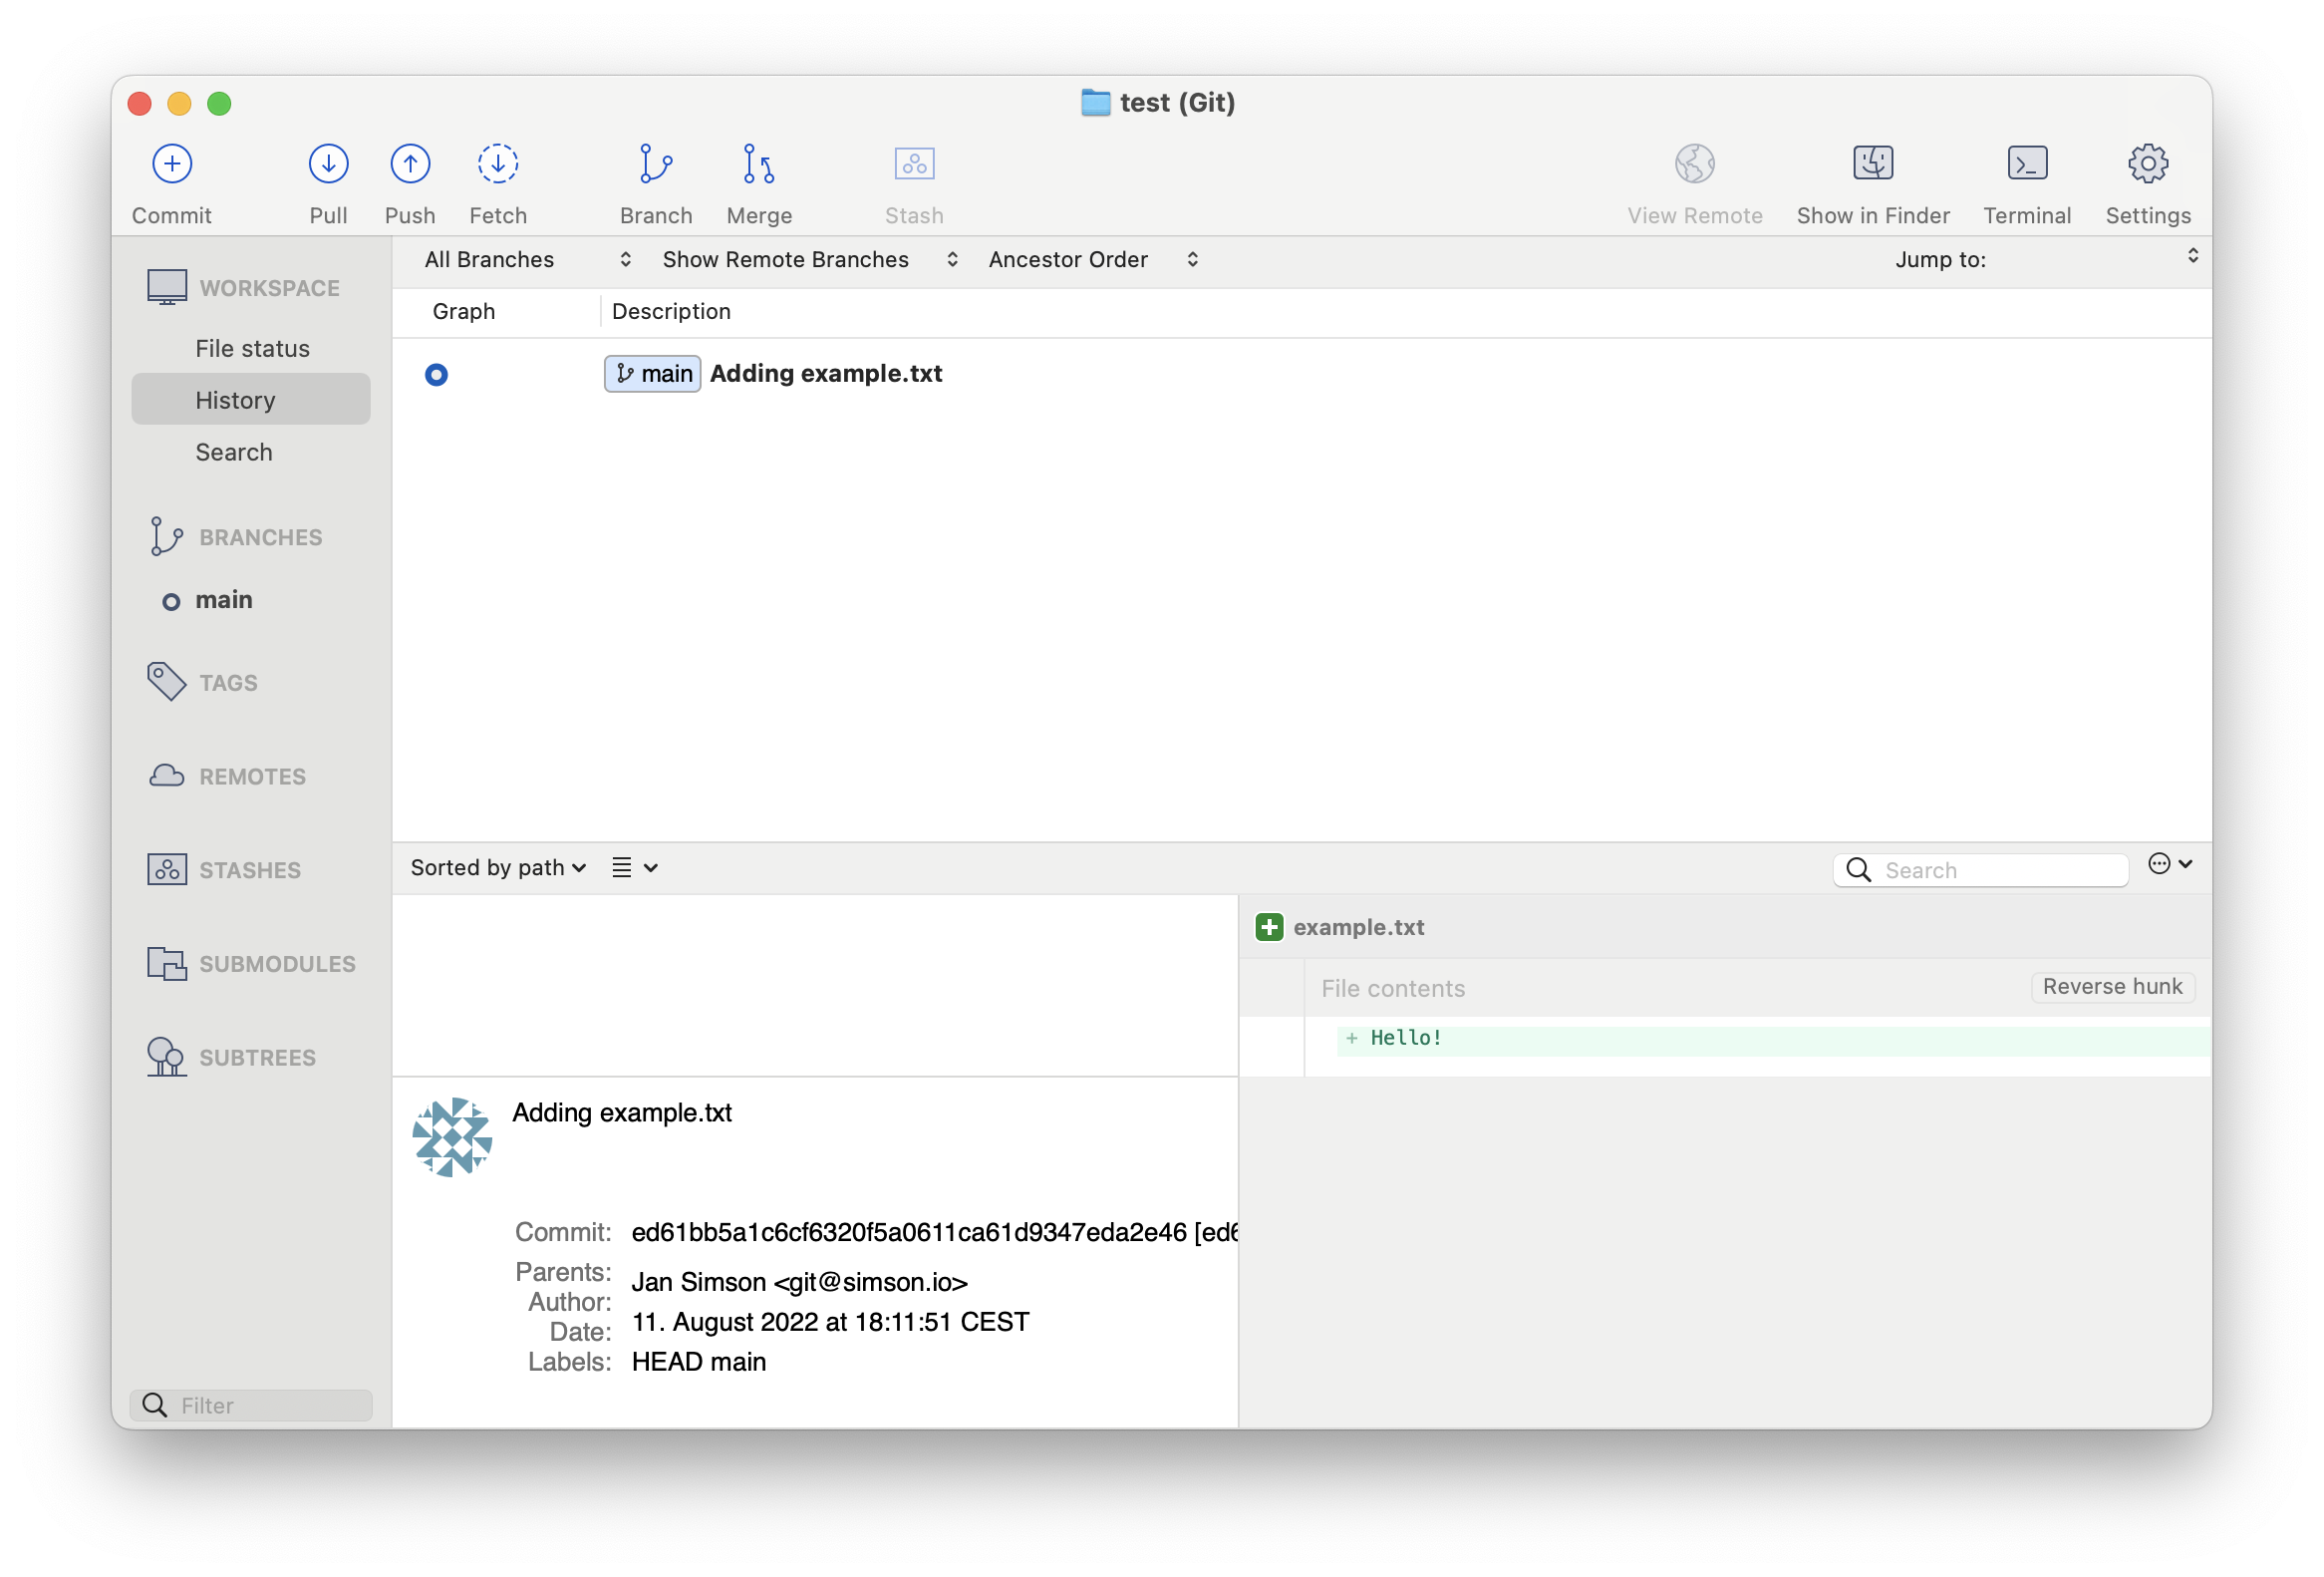
Let’s get Graphical: Tracking Changes in SourceTree

The labels in Sourcetree mirror the names within the git CLI
- Demo!
Practical: git Command Library (2)
- Run
git <command> -hand copy the output into yourlibrary.txt - Explore the repo status using the GUI
- Commit the changes (with a good commit message)
- Repeat steps 2. - 4. for another command we learned so far, using a separate commit
- Delete the
library.txtand restore it
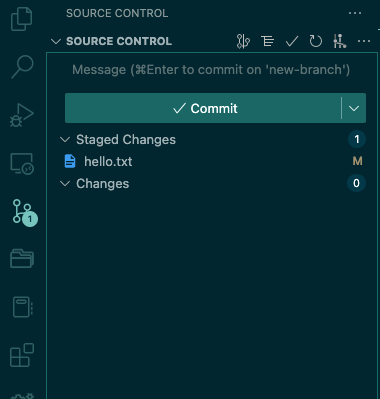
Demo: Tracking Changes in VSCode

Since VSCode is primarily a text editor, git functionality is hidden in the sidebar
- Demo!
Practical: git Command Library (3)
- Run
git <command> -hand copy the output into yourlibrary.txt - Explore the repo status using the VSCode
- Commit the changes (with a good commit message)
- Repeat steps 2. - 4. for another command we learned so far, using a separate commit
- Delete the
library.txtand restore it
Note: Git and Code
- You have noticed that we’re not using
gitwith source code here - Mainly for teaching purposes
- Not everyone is comfortable coding in the same programming language
- However, also good to be aware that
gitcan handle more than just code! 💪
🎉 Bonus Practical: Binary Files
- Create a Word document called
library.docxand copy over the contents fromlibrary.txt - Run
git stash -hand copy the output into bothlibrary.docxandlibrary.txt - Use
git diffto compare how the same change is recognized by git in the two documents
End of Block 🎉
Any Questions?